
Today we have a guest post by Jennifer Riner from . She will be teaching us how to properly paint laminate furniture.
Take it away, Jennifer!
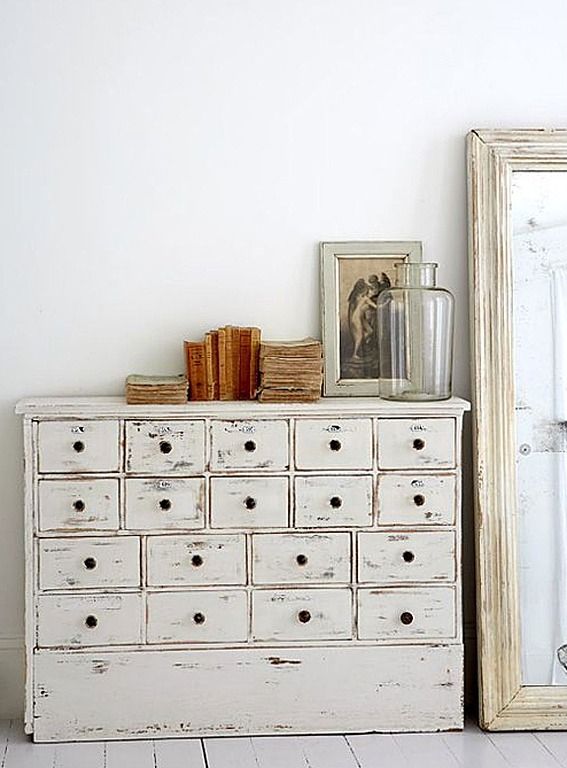
Source: Lukas Machnik
Some do-it-yourself enthusiasts mistakenly assume their
painting and restoring efforts can only be applied to wood furnishings. Luckily
for laminate owners, painting over plastic is possible and relatively simple.
To detect laminate, closely observe the coating. Laminate
furniture is covered by a thin layer of clear plastic. Unlike wood, laminate
surfaces cannot be sanded down to absorb a fresh coat of paint evenly. Therefore,
stylists looking to restore laminate pieces should complete the following steps
for best results.
Clean and Repair
Make sure surfaces are clean of any debris or dirt by
scrubbing with antibacterial solutions or soap and water at least twice before
painting. Use wet cloths to remove any soap residue and remove ingrained dirt
with small picks or toothbrushes. Use a cloth to dry surfaces completely before
priming.
Dented or damaged laminate can be repaired before painting.
Heat a traditional clothes iron to medium heat and cover the dent with a few
drops of water and an old cloth. Position the iron onto the damaged spot and
let sit for 15 seconds or until the dent pops back out. Wait until the surface
cools before continuing with priming.
To repair chips and divots, apply wood filler into flaws and
allow to dry overnight.
Prime Carefully
Pick cool, dry rooms to use as work spaces for renovating
laminate furniture. Homes in warm climates tend to trap humidity, causing paint to
bubble – especially on challenging surfaces such as laminate. Opt for
air-conditioned spaces and don’t set furniture in direct sunlight during the
process.
Since laminate cannot be sanded, priming is a vital step in
ensuring top coats adhere properly. Otherwise, paint tends to visibly rise
after drying. Use primers to create surfaces that won’t scratch, peel or emit
odors.
Some restoration experts recommend using shellac-based
primers, as they tend to stick to surfaces easily. Apply one to two coats of
primer, precisely covering all spots evenly. Oil-based primers are also
effective at casing laminate surfaces for optimal effects.
Paint and Seal
After allowing ample time for
primers to set – preferably overnight – gather angled paintbrushes and foam
rollers. Angled brushes help paint get into hard-to-reach edges and corners.
Smooth over surfaces with foam rollers for a mark-free finish. Use two coats so
faux-wood finishes on linoleum stay concealed. Remember to lay tarps down
before painting to avoid messes that could potentially ruin carpets and
hardwoods.
Seal with polycrylic or wax
protective finishes. Brush one to two coats on top of dry paint, allowing a few
hours in between each coat for pieces to dry.
Laminate can even be distressed to
match more rustic, shabby-chic interiors. Sand very lightly, careful not to
break through paint and damage laminate. Or, paint over with a crackle medium and
then cover in latex paint. Use an opposite hue to display a noticeable contrast
between the latex and the crackle. Again, lightly sand to fit with more
natural, weathered interior styles.
Don’t throw away or look past perfectly
built dressers and chests just because of their plastic surfaces. They can be
primed and painted to fit any room and color scheme, as long as the proper
preparations take place to make sure paint sets correctly.
+++++++++++++++++++++++++++++++++++
Thank you Jennifer! I will be trying this process out on my bookshelf... I will be sure to share the before and after pics with y'all once it is done!
Have a good day!
Sylvie